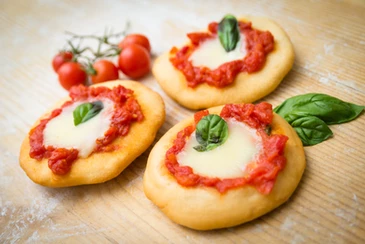
Marta from Rome, Italy – our Marketing and Business Development intern is sharing tasty recipes with you. This week: fried pizza bites

Hello everyone! My name is Marta and I'm very happy to share with you my first cooking blog post! If you're not familiar with the dish it's because it's from the country that I'm originally from: Italy.
I came here to beautiful Sofia for a Marketing and Business Development internship at Flat Manager, but due to the current crisis we're facing, I'm left with some free time. In order to keep busy and to (hopefully) keep you lovely readers entertained, I decided to share with you some easy yet tasty recipes.
I hope you enjoy them!
Here's some useful information before we get started:
- Since I'm gluten intolerant I've decided to use gluten-free flour, but feel free to use the one you prefer or have available.
- The more the dough rests, the better! Some people let it sit for 24 hours, but if you're lazy like me just give it a few hours (6-8). My suggestion is to make the dough in the morning and let it sit while you go about your day. Make sure that it stays away from hot and/or cold places. This process is necessary to allow the dough to rise, becoming fluffy and soft.
- If the dough seems to be breaking apart during the kneading process, add a tiny bit of olive oil.
- Here's a tip for the tomato sauce: always make sure to taste what you're making, especially if you're using a pre-made sauce, it might need further seasoning or not depending on your taste. I personally like adding a few basil leaves and a pinch of sugar to balance the acidic taste that tomatoes sometimes have. When the sauce is ready, add a generous amount of grated cheese for extra consistency and flavor! If you prefer the taste of garlic, feel free to use that instead of onion: let it roast on both sides with olive oil but make sure not to burn it. After you pour the tomato sauce in the pan, leave the garlic clove for a couple of minutes for the sauce to absorb its flavor.
- Get creative with the garnishes! Feel free to add whatever you prefer: grilled veggies, ham, pesto sauce, or even sweet spreads for a delicious dessert.
INGREDIENTS FOR 25 FRIED PIZZA BITES:
- Flour - 700 g.
- Lukewarm water - 500 ml
- Salt - 20 g
- Baking powder - 5 g
CLASSIC DRESSING:
- Tomato sauce - 600 ml Salt
- Onion Grated cheese
- Olive oil Basil
- Mozzarella
TO FRY:
- Sunflower oil - 2 liters
Let's get started!
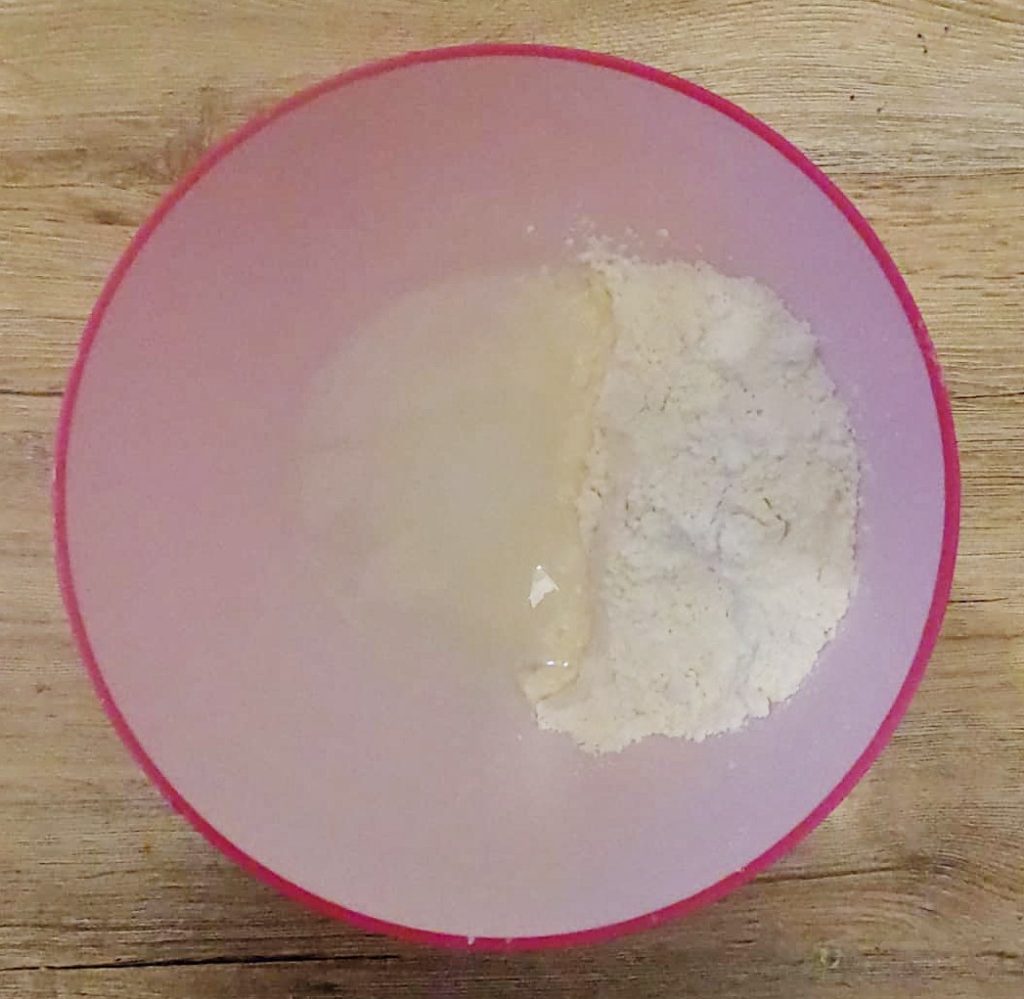
First, we need to make the dough.
Place about half of the flour on the side of a bowl (the best would be a wooden or glass bowl, but if you don't have either of them don't worry! I'll teach you a trick to make sure the dough doesn't stick to the surface).
Add the salt and baking powder then mix everything together with a spoon. Next, pour half of the water on the other side of the bowl – making sure not to pour it directly onto the flour. Start mixing the flour and the water with a spoon until the mixture has this consistency.
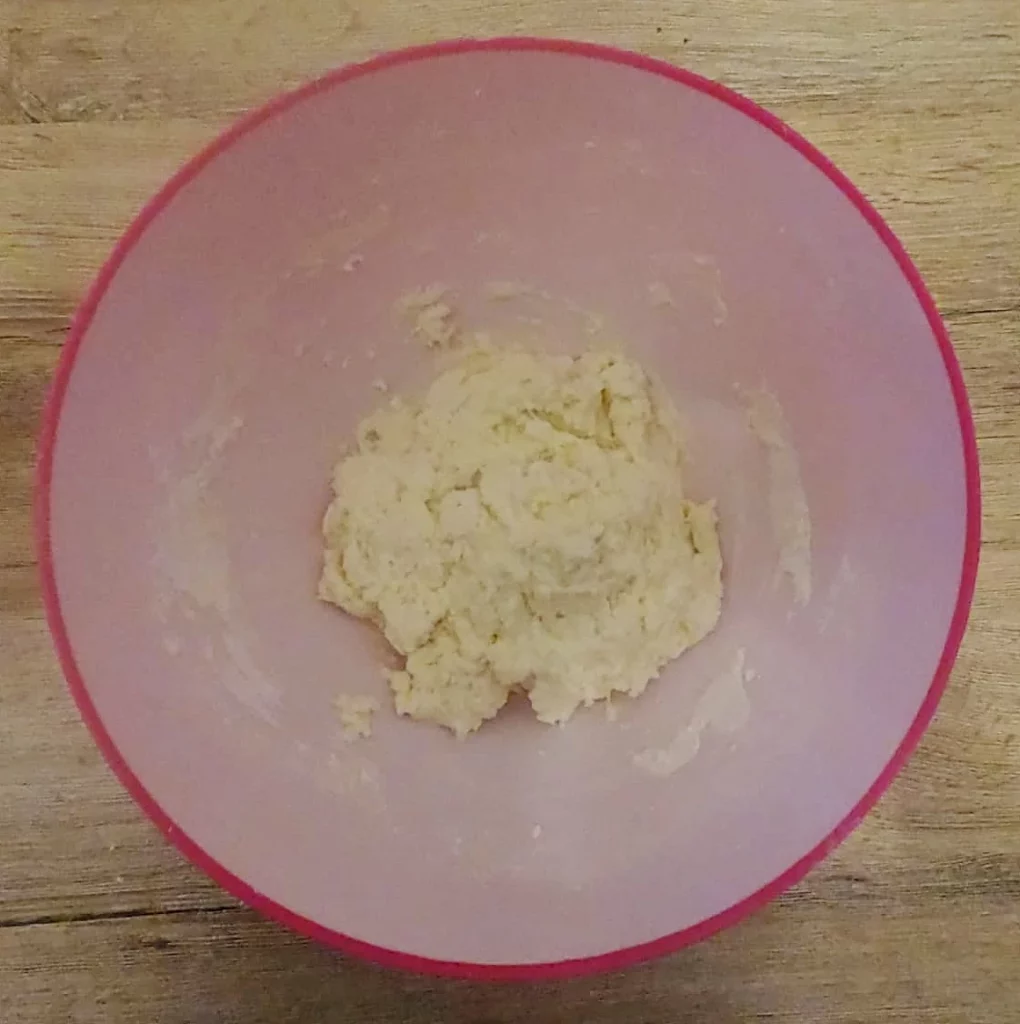
Now it's time to start working with our hands!
You can keep mixing the dough inside the bowl or you could use a board/counter-top, however it feels most comfortable for you.
Just make sure the surface is perfectly clean and that you put a generous layer of flour down so that the dough doesn't stick to it (it would be best to have some flour on your hands as well). The dough is going to absorb the flour, so keep adding some more every now and then.
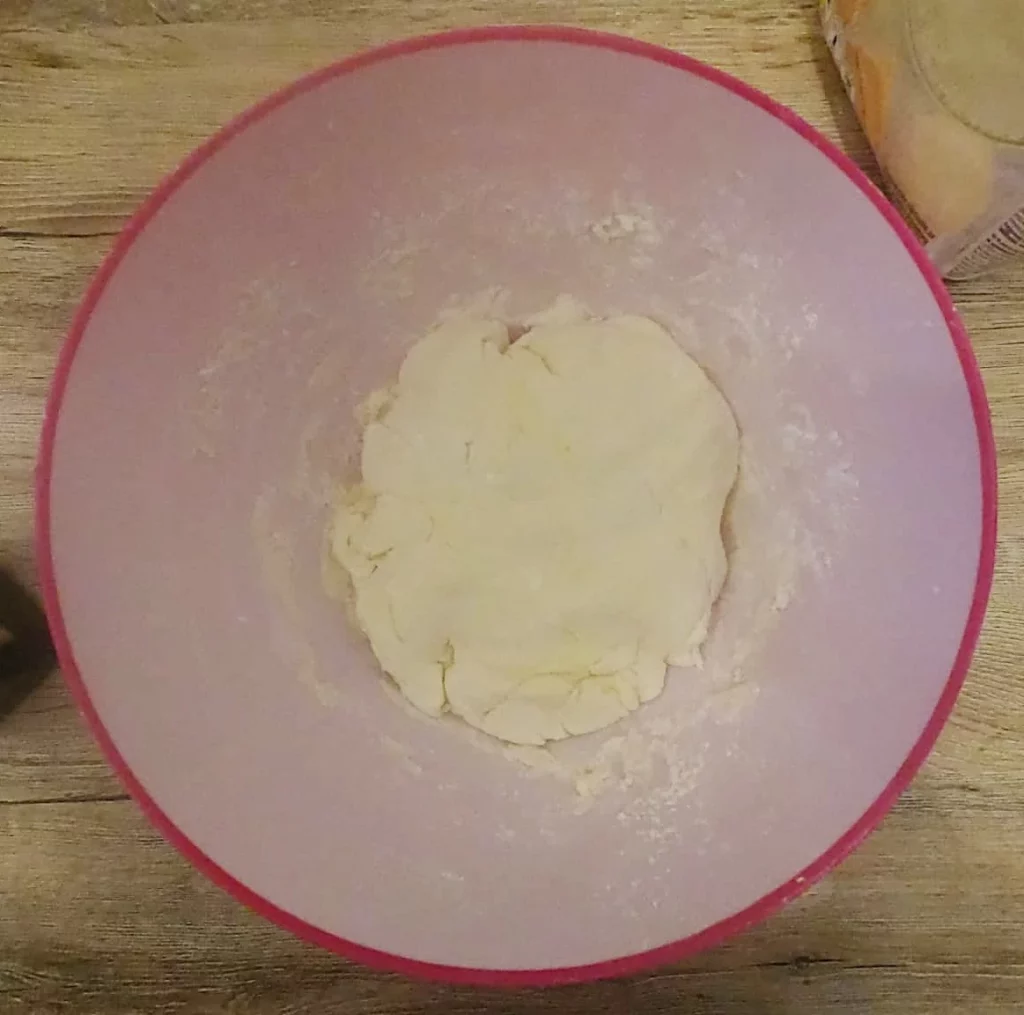
Keep repeating the initial process, adding the remaining flour and water a bit at a time while you work the dough.
You'll notice that the dough has a very sticky consistency at first: keep on mixing it with the flour you have laid out on the counter until it's no longer sticky. After a while, you should have a firmer dough, but if that doesn't happen, don't worry! It takes a bit of work but I promise it's going to be worth it, just keep adding some flour and keep working it.
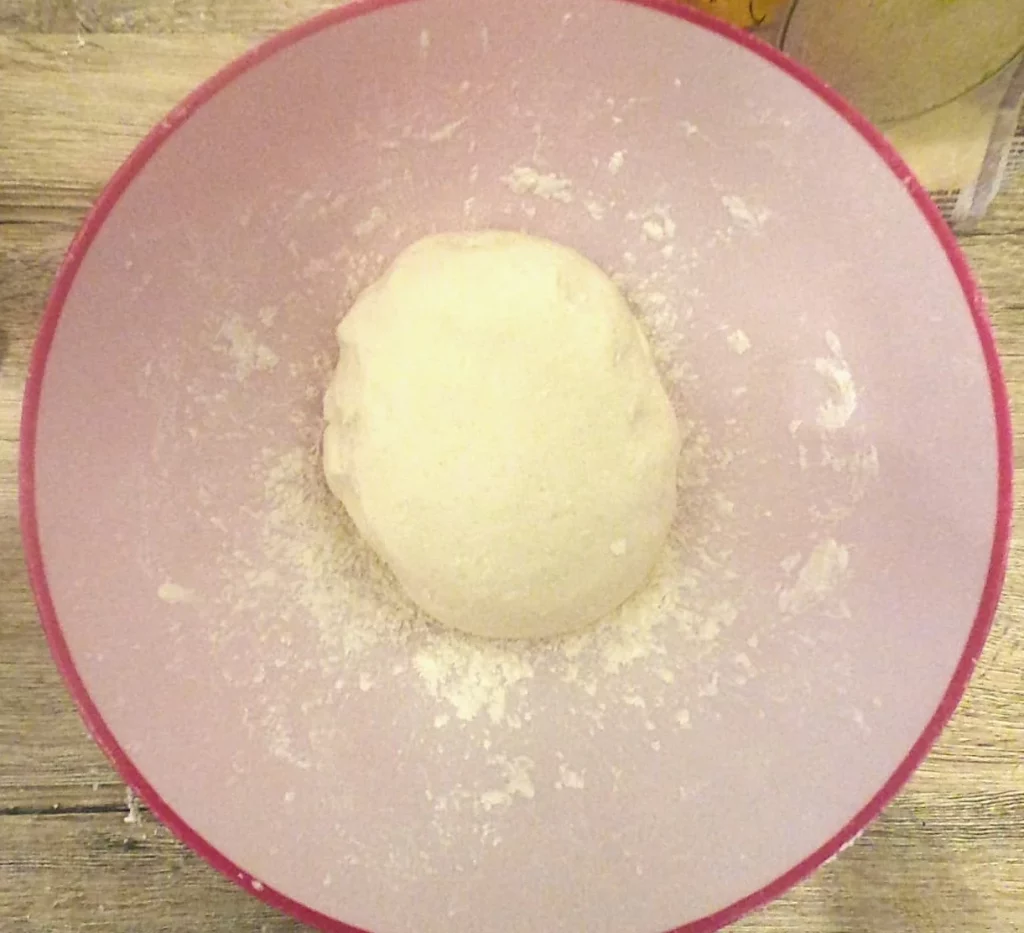
When the mixture is firmer and more compact, start pressing the palms of your hands pushing the dough away from you until it gets elastic. Repeat for 10-15 minutes.
After this time it should be shiny and smooth, sticky but elastic to the touch. If you can still feel some flour grains keep on kneading it. To make sure it's ready, roll it into a ball and drop it onto a flat surface: if it maintains its shape it's ready.
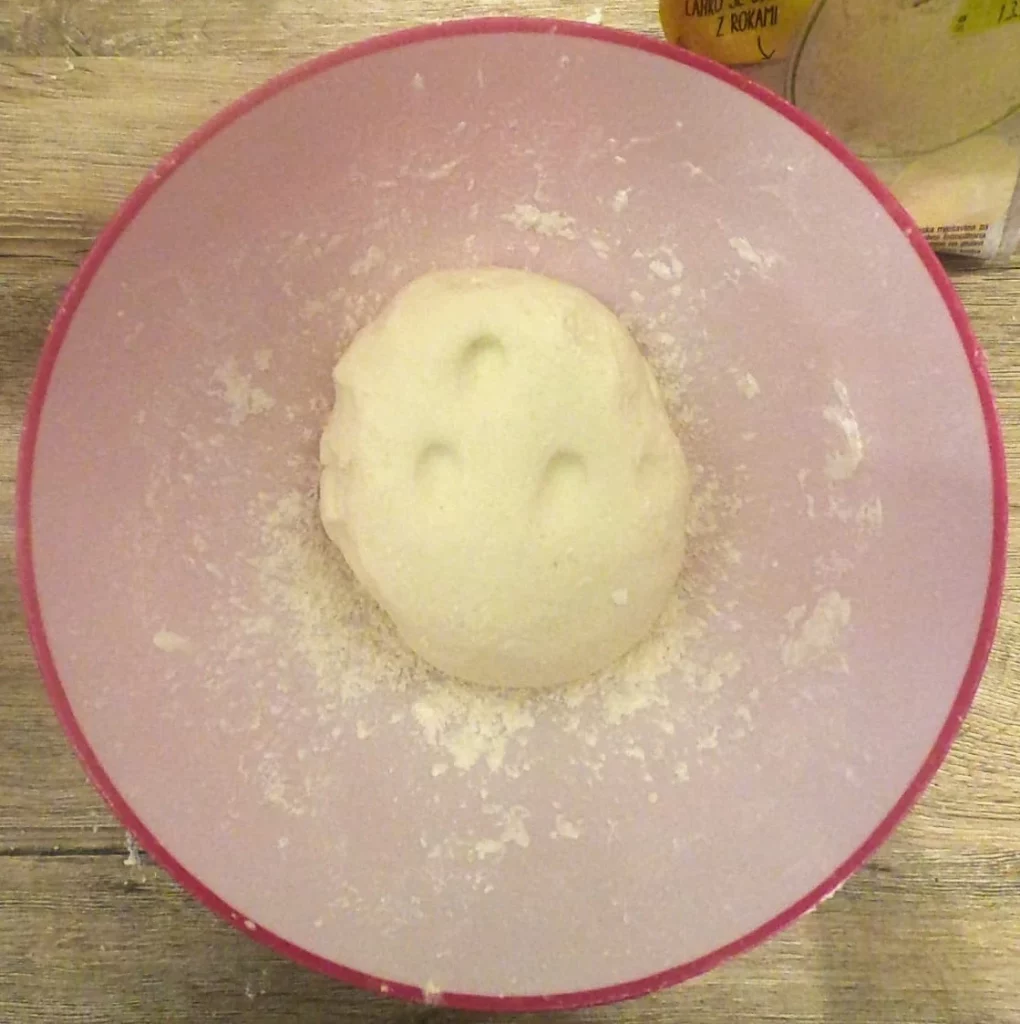
You could also press the tip of your finger on it, and if the dough goes back to its original form it means you're good to go.
Take your original bowl and sprinkle a light layer of flour so that the dough doesn't stick to the surface. Place it inside, cover it with a clean cloth and wait for the baking powder to do its magic.
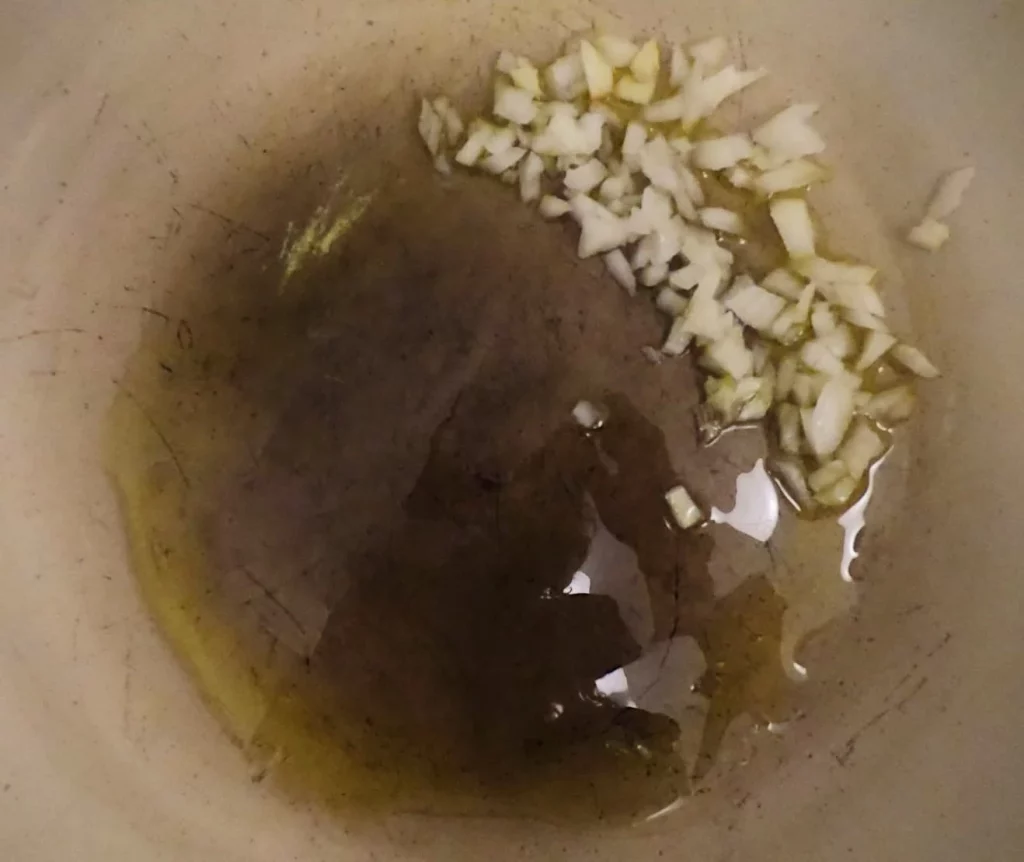
Now it's time to make the sauce.
Start by heating up a pan with olive oil. When it's hot, put half of a finely chopped onion and let it cook until it's golden but make sure not to burn it.
When the onion is ready, add the tomato sauce and let it cook for a couple of minutes on low heat.
When it starts bubbling, add a cup of water and cover with a lid for 10 to 15 minutes.
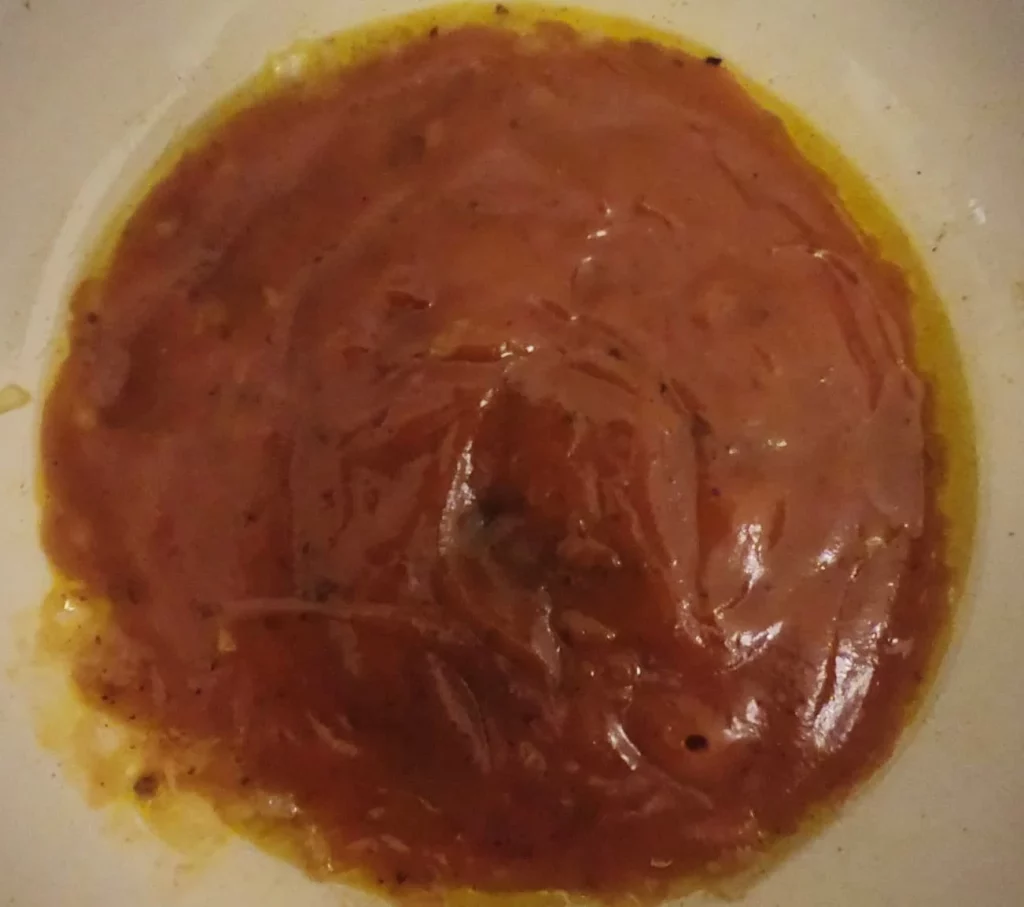
The goal is to allow all the water to evaporate. Make sure to stir the sauce every now and then to avoid burning it.
If needed, add a bit more olive oil and water and let it cook for longer. The sauce is ready when there is no more water on the surface and has a smooth consistency.
Run a wooden spoon through it, and if the sauce stays separated for a couple of seconds with no water on the base of the pan it means it's ready.
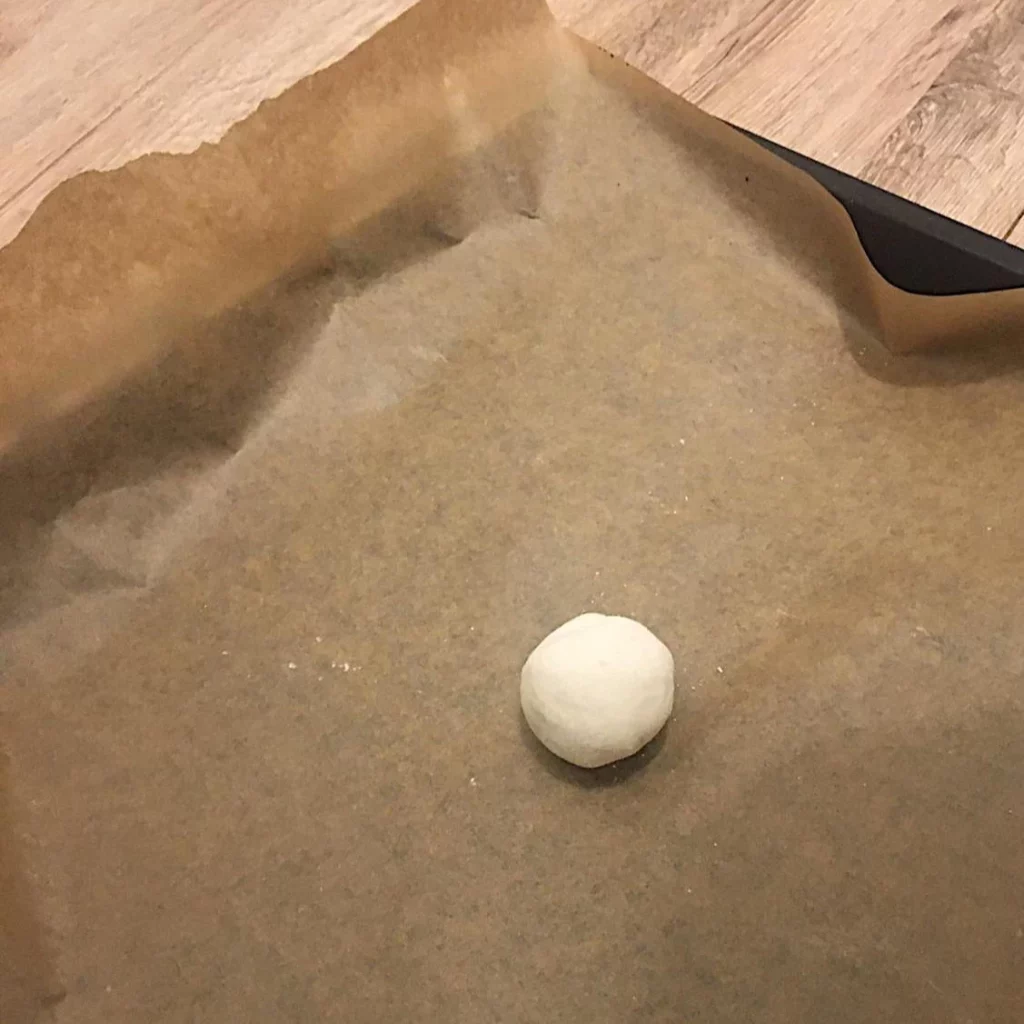
After 6-8 hours the dough should have doubled in size. Heat up the sunflower oil in a large pot.
Start taking some of the dough and shape it into a ball (about 50 gr for reference).
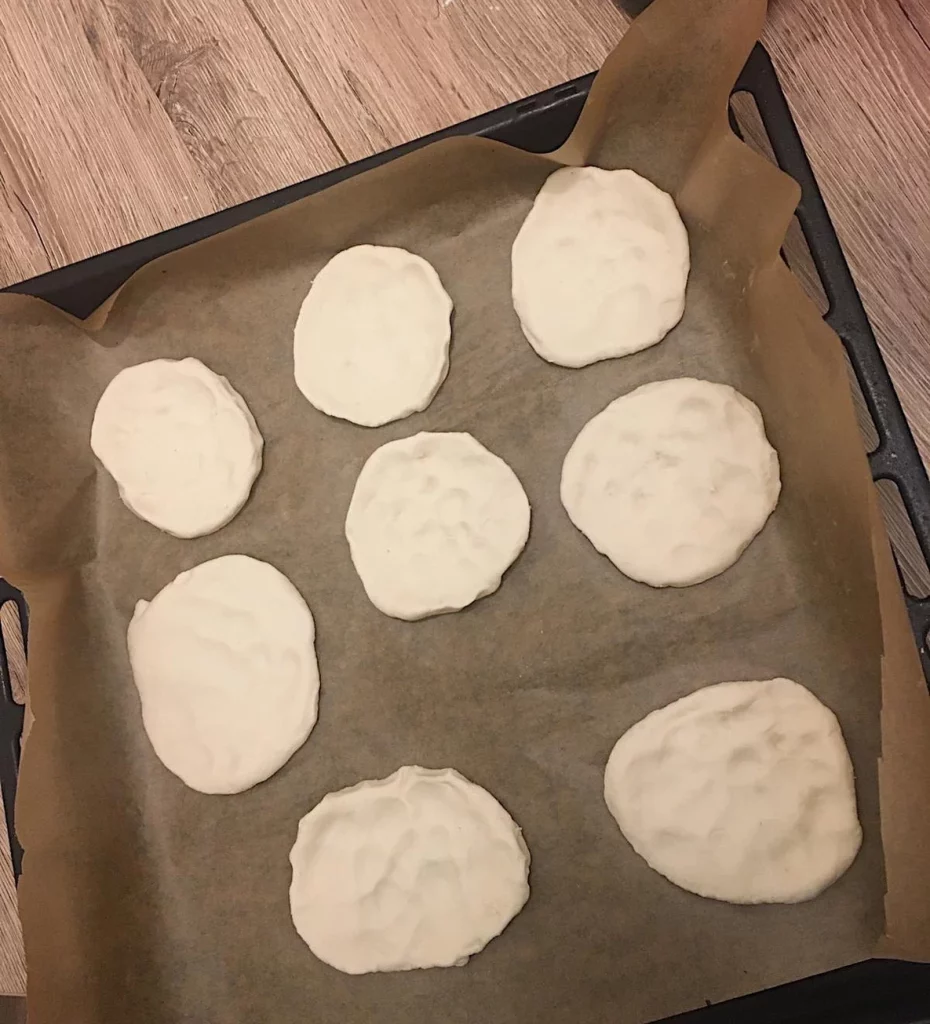
Use the palm of your hand to press the center of the ball, the shape of your dough should look like a disk with a slight dip towards the center – this will make sure that you have space to place the sauce in the middle.
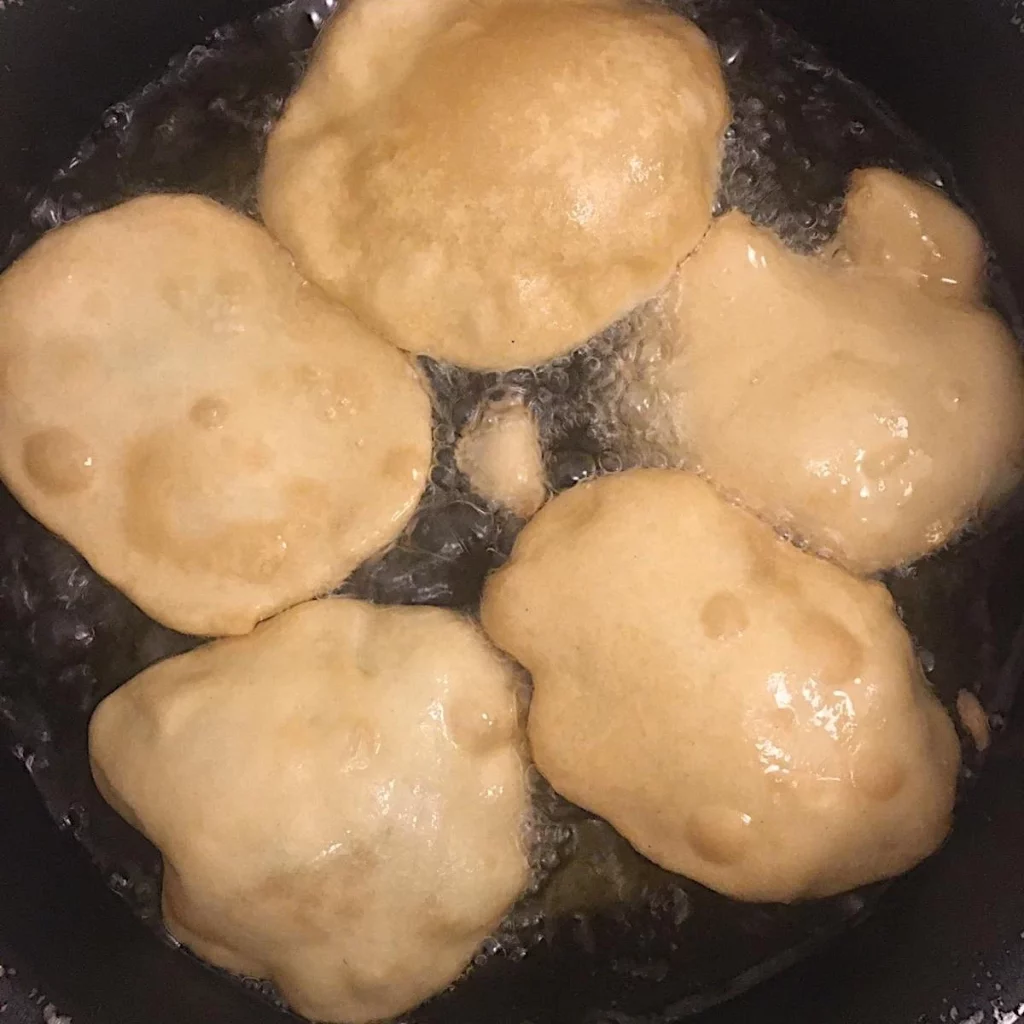
When the oil starts bubbling, carefully place the disks into the oil (don't add too many at once or they'll stick to each other).
Turn them when the side facing downwards is golden.
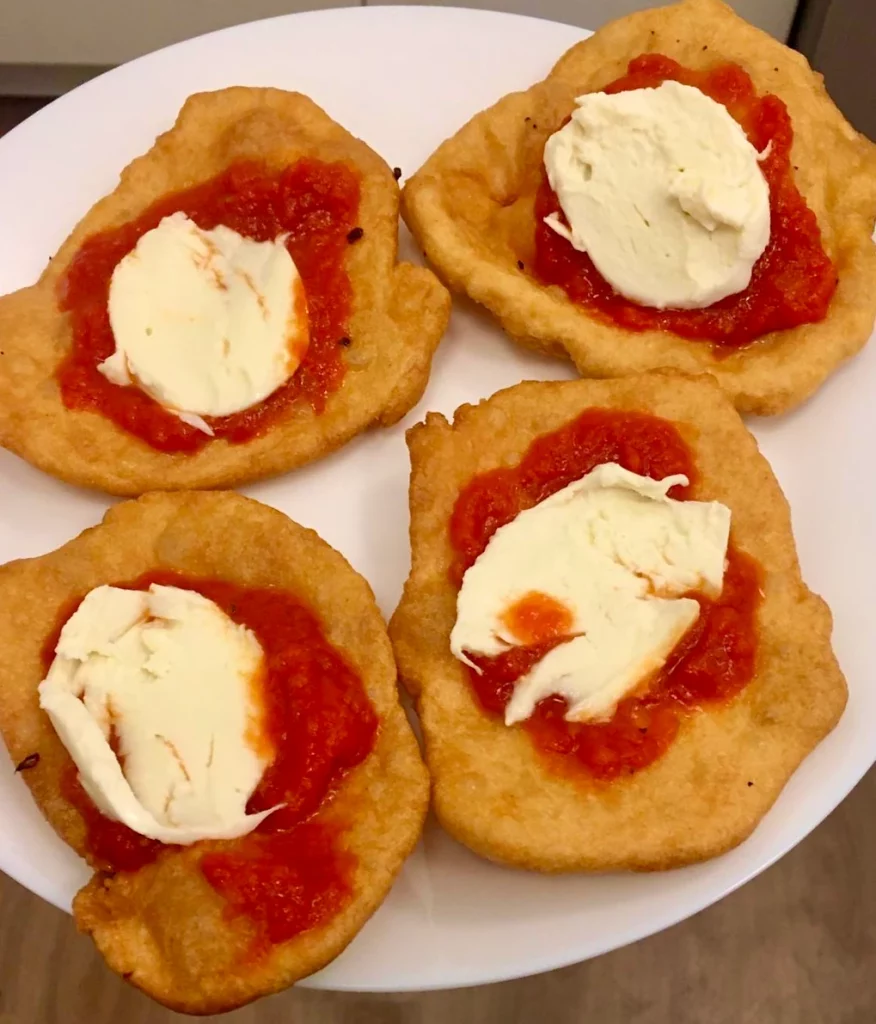
When both sides are golden, take them out and place them on kitchen roll to absorb any excess oil. Let them cool for around 10 minutes, then repeat the frying process for about 30 seconds if you want to make them extra crispy.
You're done! Now get creative with the garnishes and enjoy your meal! I hope you enjoyed making this recipe! Many more are on the way!

